Creating jagged zig zag and wavy lines in Illustrator
It’s easy to create a jagged zig-zag line or a curvy wave using Adobe Illustrator’s built-in vector modifying tools.
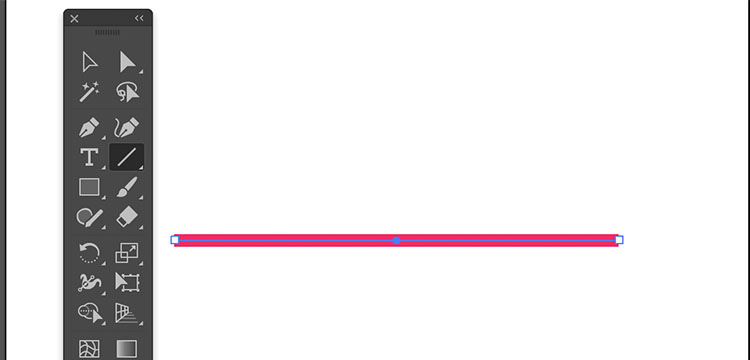
In a new document, select the line tool by pressing the backslash (\) key. Drag to create a new line. Press shift before dragging with your primary mouse button down to create a perfectly horizontal or vertical line.
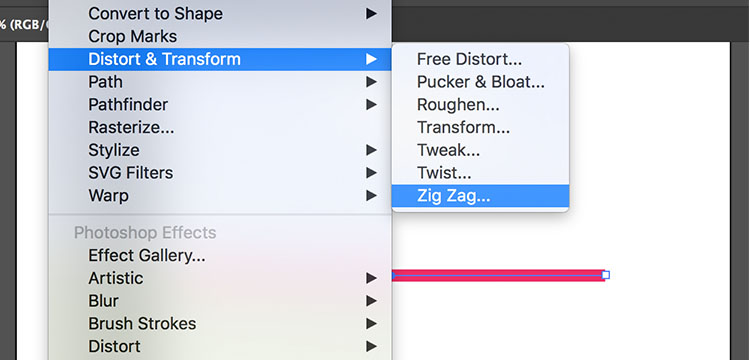
With the line selected, go to Effect > Distort and Transform > Zig Zag… to bring up the Zig Zag dialog box.
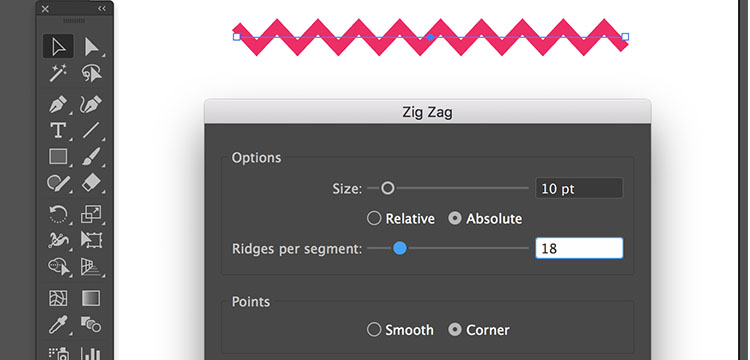
Play with the options to get the desired effect you want. The Size option will create larger Zig Zags (further from the original line). The Ridges per segment option determines how many zigs and zags on the line. Ensure you have the Preview checkbox selected to see your line change as you edit the options.
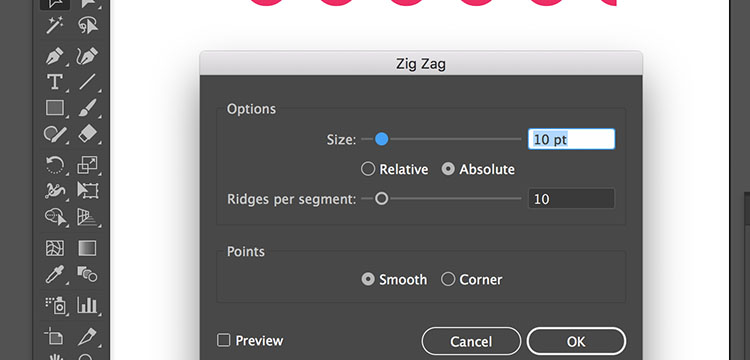
Select the Smooth radio button to get a curvy line instead of a cornered zig-zag. Click OK to apply the effects.
To go back and edit the options of your Zig Zag at any time, select your Zig Zag line. Then, in the Appearance window, double click on Zig Zag. You can find the Appearance window by selecting Window > Appearance from the top menu.
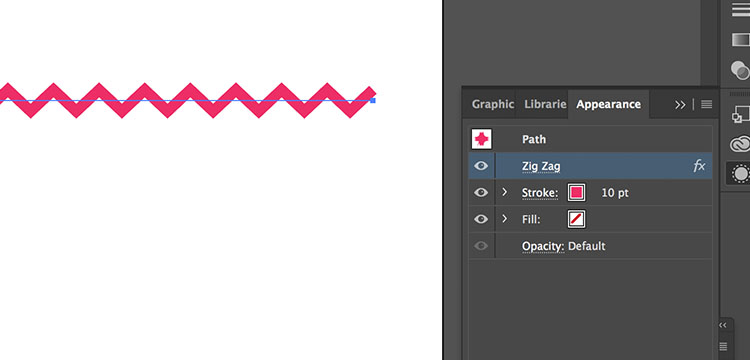
You may want to Expand Appearance to convert the zig zag from an Adobe Illustrator effect to a plain vector path. This has the added benefit of portability (Adobe Illustrator effects might not work in other programs or in the SVG format). However, if you’re staying in Illustrator, it’s probably ideal to keep the line as an effect so you can modify the Zig Zag’s options if you change your mind.
To do this, go to Object > Expand appearance in the menu.
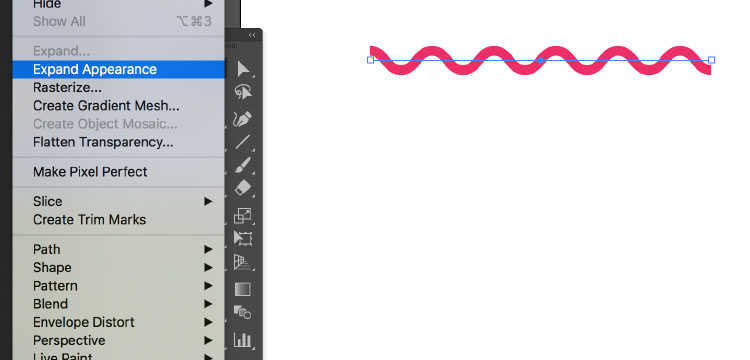
You are then free to edit the individual points of the bezier curve, like a regular path.
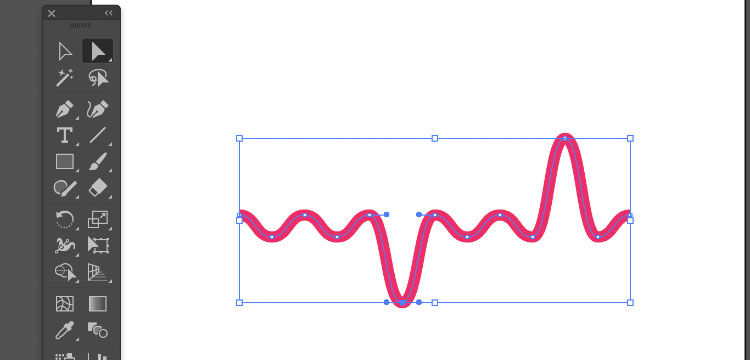
Well done! You did it. Love that wave.

Be sure to check out our other Adobe Illustrator tutorials for more beginner tips and tricks.


