How to Remove Your Own Visits From Google Analytics
When using Google Analytics to track your websites traffic, one of the first steps is to exclude your own traffic, or traffic from your organisation. So lets have a look at how you can do that using your IP Address and the Google Analytics Admin interface.
Finding your IP Address
Before we head over to Google Analytics, we need to find out your IP address. Your IP address is a group of numbers that uniquely identifies your computer on the Internet. It’s like a street address, but for your computer.
So lets find out your IP. Google was nice enough to build this feature write into to Google search.
- Jump over to google.com and search for ‘whats my ip’
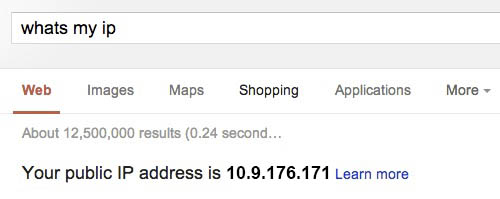 A line will appear saying ‘Your public IP address is xxx.xxx.xxx.xxx’
 - Hang on to that string of numbers (keep the tab open, copy and paste it somewhere, write it down on paper lols), cause we are going to need it later.
Google Analytics Admin interface
Now lets jump over to Google Analytics. and lets get started.
- Log in to your Google Analytics account.
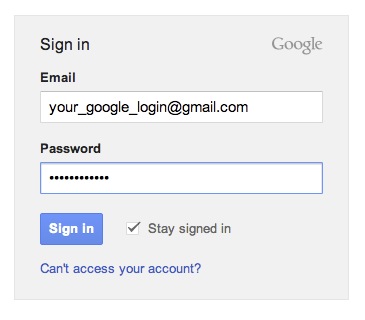
- Click Admin button in the top right.

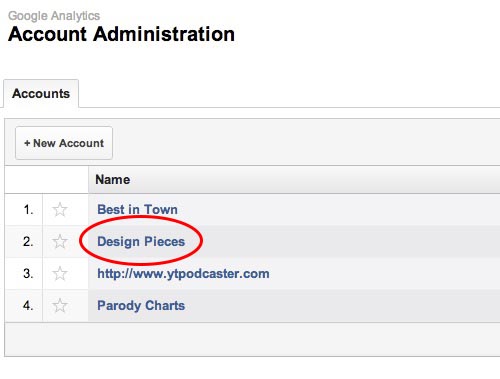
- You are now on the Account Administration page. From the list, click the site you want to exclude your traffic from
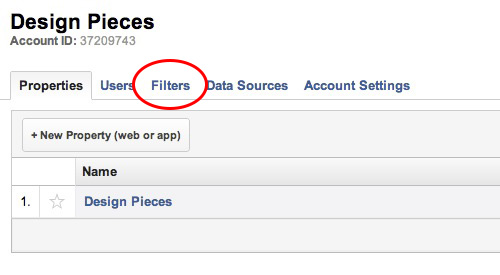
- Click on the filters tab
- Click ‘Add New Filter

- Give your Filter a Name e.g. ‘Exclude IP Home Computer’
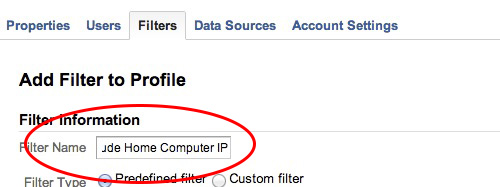
- Change ‘traffic from ISP domain’ to ‘traffic from the IP address’

- Write in your IP address

- Select the profile you want to add the filter to, and click the ‘add’ button.
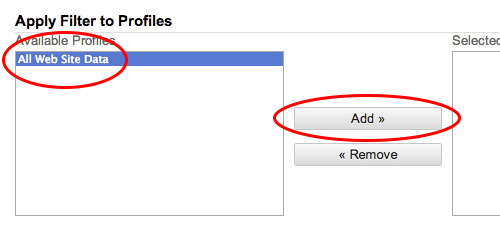
- Click the Save Button

A Quick Note
Just a note, adding this filter will only work going forward, and won’t be applied to existing Google Analytics data. There is currently no way to do that.


